
You replaced the shower silicone and cleaned the shower, but it did not seem to be watertight. The edges begin to lift a couple of weeks later, and the silicone will follow. In addition to not properly preparing the substrate, peeling silicone from the tiles can stem from other causes, such as using material that is not suitable for the tile or peeling it off. It may also still be wet prior to the cure of the sealant.
A client example
Joy, a Melbourne homeowner, is replacing silicone around the base of an existing shower. Within a month, the corner starts going up, and they put another layer on it, and it goes on climbing. Within less than a month's time, one corner starts rising, and they build another on top of it, and it continues to rise. It's sloughing off as well. Up close and personal, there isn't a whole lot of trace of the past silicone and soap scum, but there is some. The shower was also applied prior to the suggested curing time. A permanent solution would be to remove the water seep from the toilet base, dry and clean the toilet washdown, ensure there are no cracks or voids between the surfaces, and put the bathroom sealant in place following the instructions.
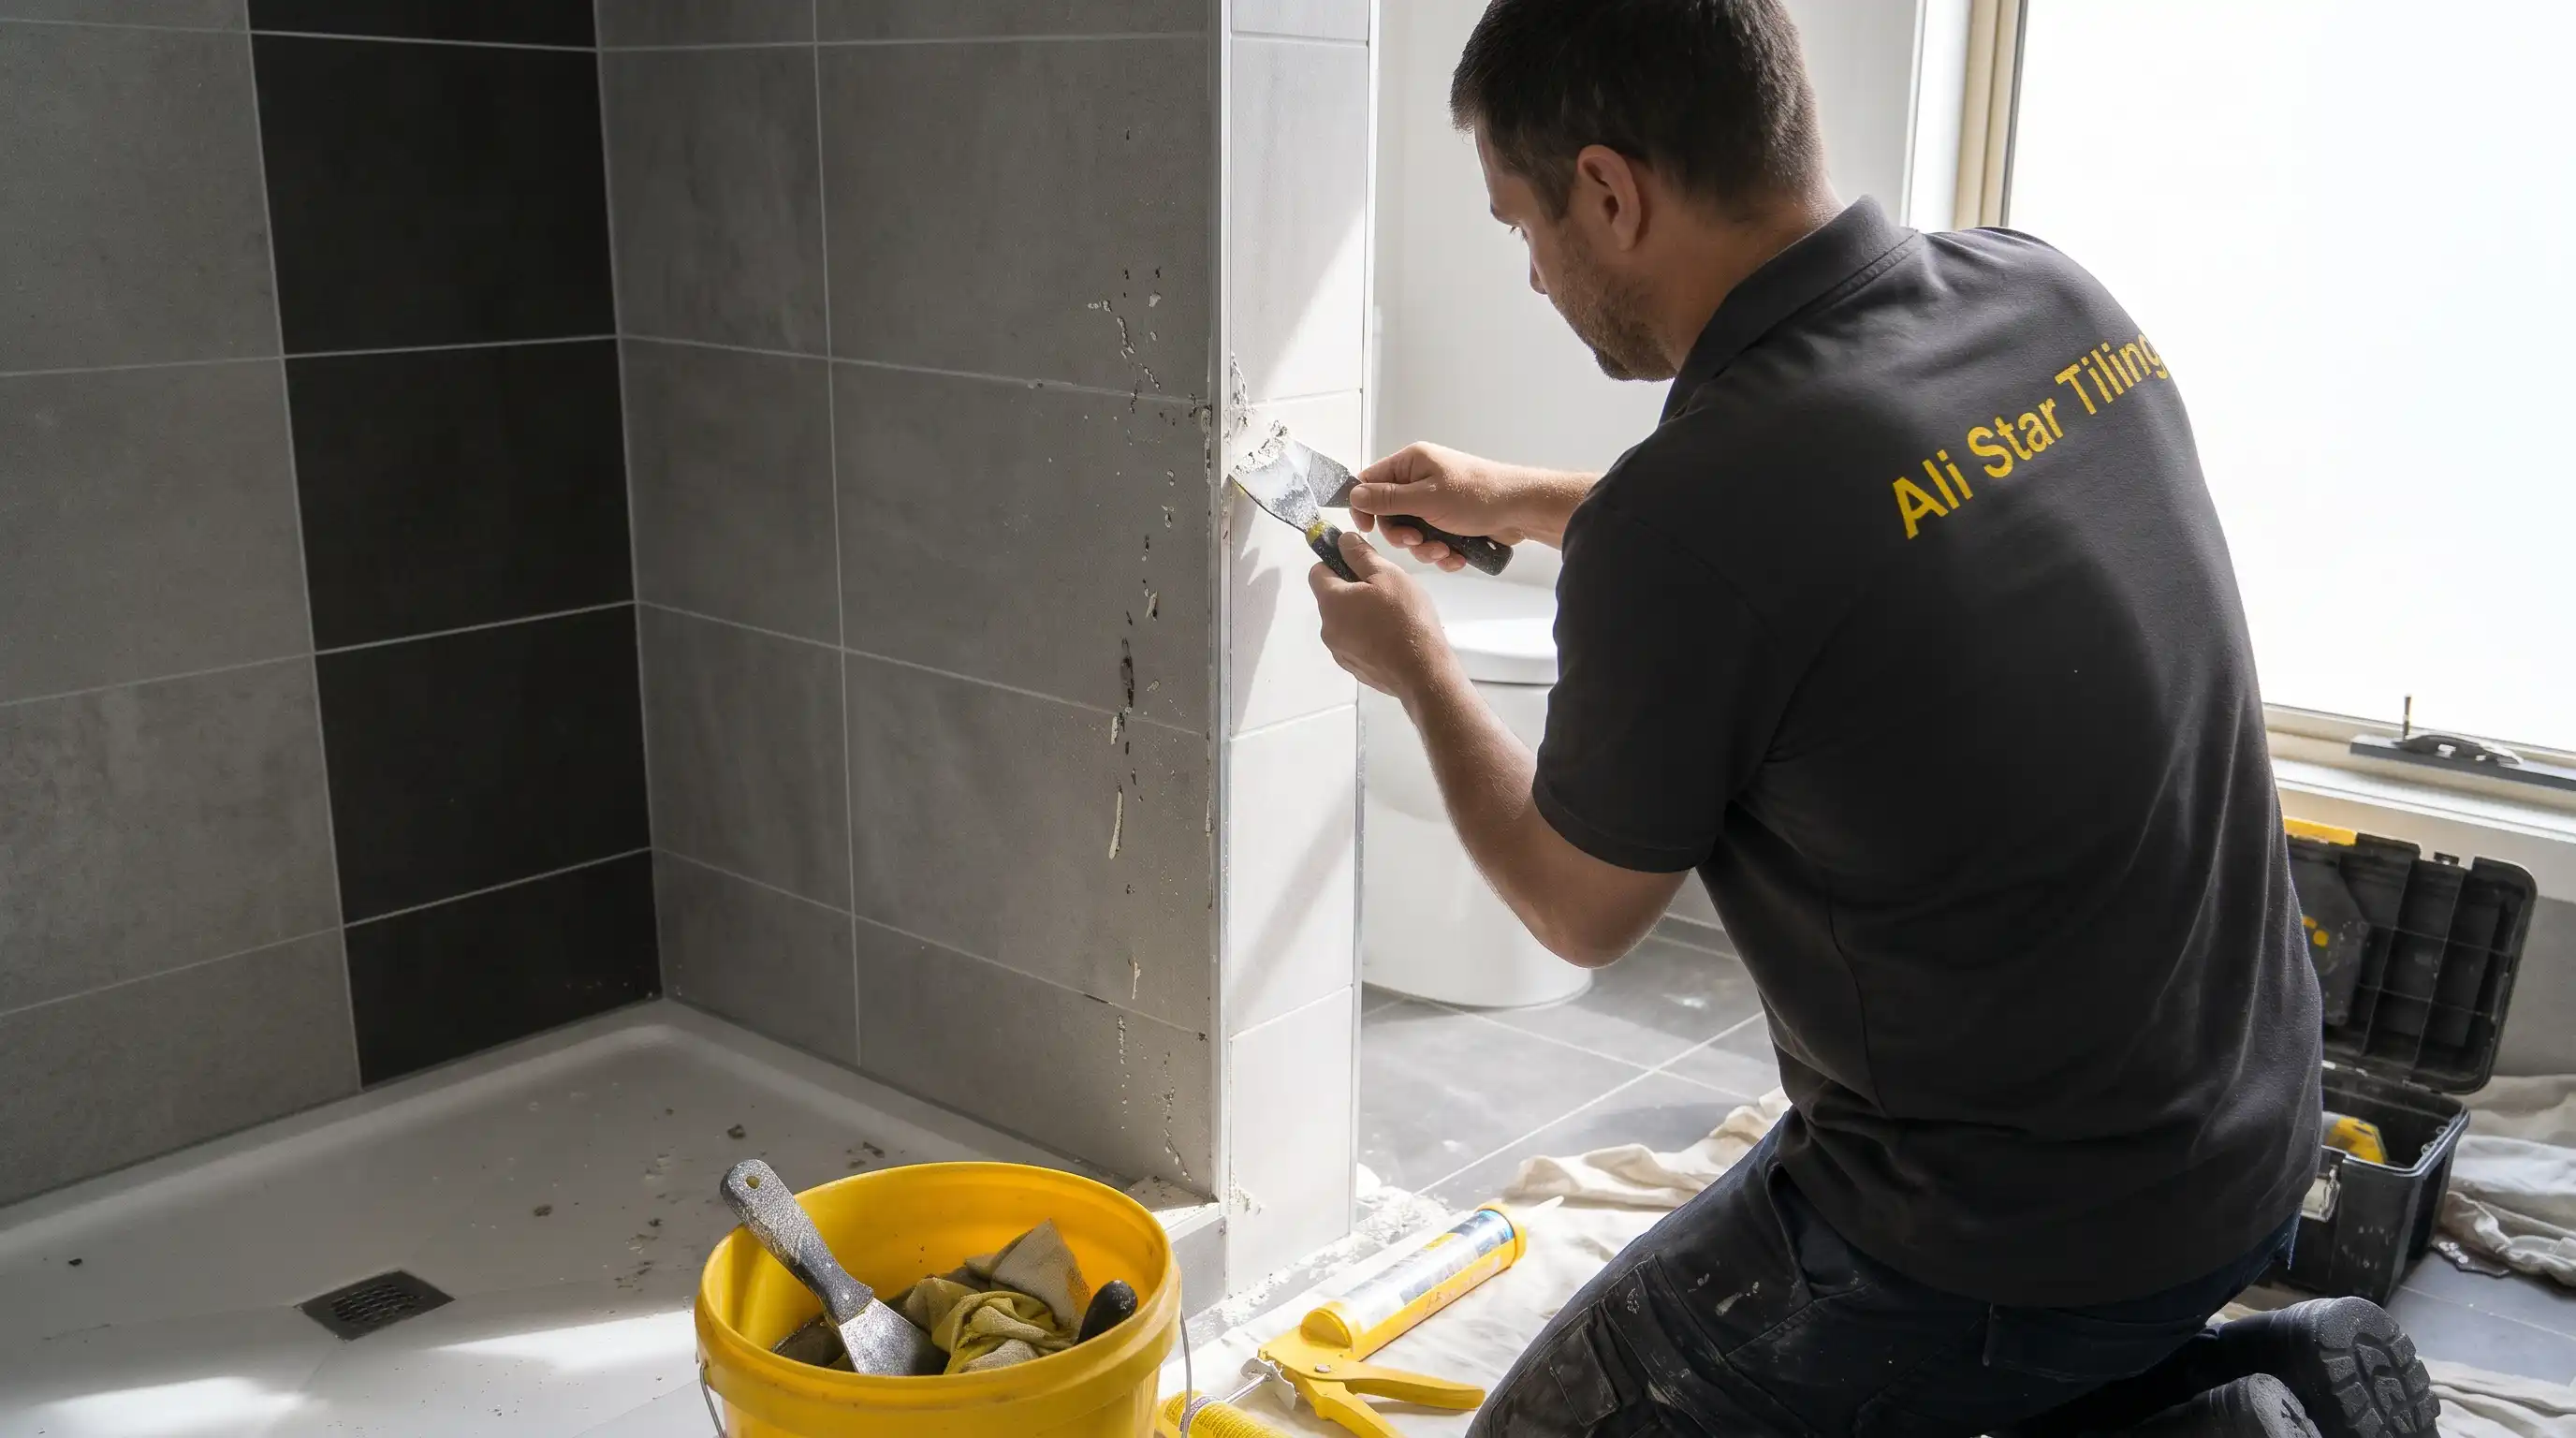
What makes silicone sealant “peel” tiles?
Silicone will need a dry, stable surface. The presence of soap residue, oils, dust, old silicone, and moisture can interfere with adhesion. If a bead lifts slightly off the tile, this is a sign of a problem with the bond; a broken/busted bond might mean that movement, aging, or that the joint was not possible.
1. This resulted in the existence of old silicone, which was not fully removed.
Some problem areas with silicone replacements in bathrooms are that sections of the old silicone are left behind that are covered with new silicone. If they are not first oxidized, the new sealant will not withstand cured silicone. A thin layer, just above the surface of the tile, can make a weak layer that eventually loses its anchoring. Remove and clean out any used bead gently with a cleaner that will not harm the surface. Be mindful of not breaking shower trays, grout, or tiles. This will be masked temporarily by the old edge, but it will not continue in this way.
2. Surface moisture and/or soils were present and impacted.
If you're wondering why silicone won't stick to tiles – think “what happened to the tile surface prior to installation. Other factors that can influence adhesion include water, soap scum, soaps, chemicals, body oils, and dust. Strip the previous sealant off, degrease the seal joint, and allow it to dry. If it is not removed, it can lead to failure of the fledgling bead to hold up properly and may be harmful. Mix according to the manufacturer's instructions; cut according to the manufacturer's guidelines; follow the manufacturer's directions for the use of primers, if applicable.
3. Inappropriate sealant selected.
For “wet” areas, a sealant that is not appropriate is not suitable. Where necessary, bathroom (or sanitary grade) silicone can be used in bath joints, basin and shower joints and in some cases has mould resistance properties. GENERAL PURPOSE PRODUCT may not be effective in water-prone areas. Special chemicals may be necessary if the type of natural stone requires such chemicals on plastics and coated surfaces. For advice, refer to the label and technical data sheet, not the color.
4. The shower was used too early.
Silicone has to be cured to develop its properties. Looks dry on the outside, but moist in the middle. Avoid showering too soon, as this may remove the bead and/or cause the water to remain on the sealant prior to the curing time. These varying factors involve product used, bead thickness, temperature, and humidity; therefore, curing time will vary. Follow manufacturer's instructions and allow dry for the amount of time listed. Curing conditions could be affected by freezer/freeze and/or by wet conditions, as experienced in Melbourne. Follow product instructions.
5. Failure due to movement (or underlying damage)
While silicone is flexible, it's not a universal solution to construction issues. Any of the following will continue to put strain on the bead, such as a shower screen that is not square, moves, is not level, has a broken joint, or has broken grout around it. Beads can also tear or come off if they're too thin or if the gap that they're placed in is too wide. If the shower silicone is only peeling off in the same location, try the seal under the top. If any tiles are loose, if a shower is damp, if you have a musty smell, or if water can be seen outside the shower, then there is a larger problem. Worn, broken waterproofing or broken fittings or materials should not be repaired with silicone.
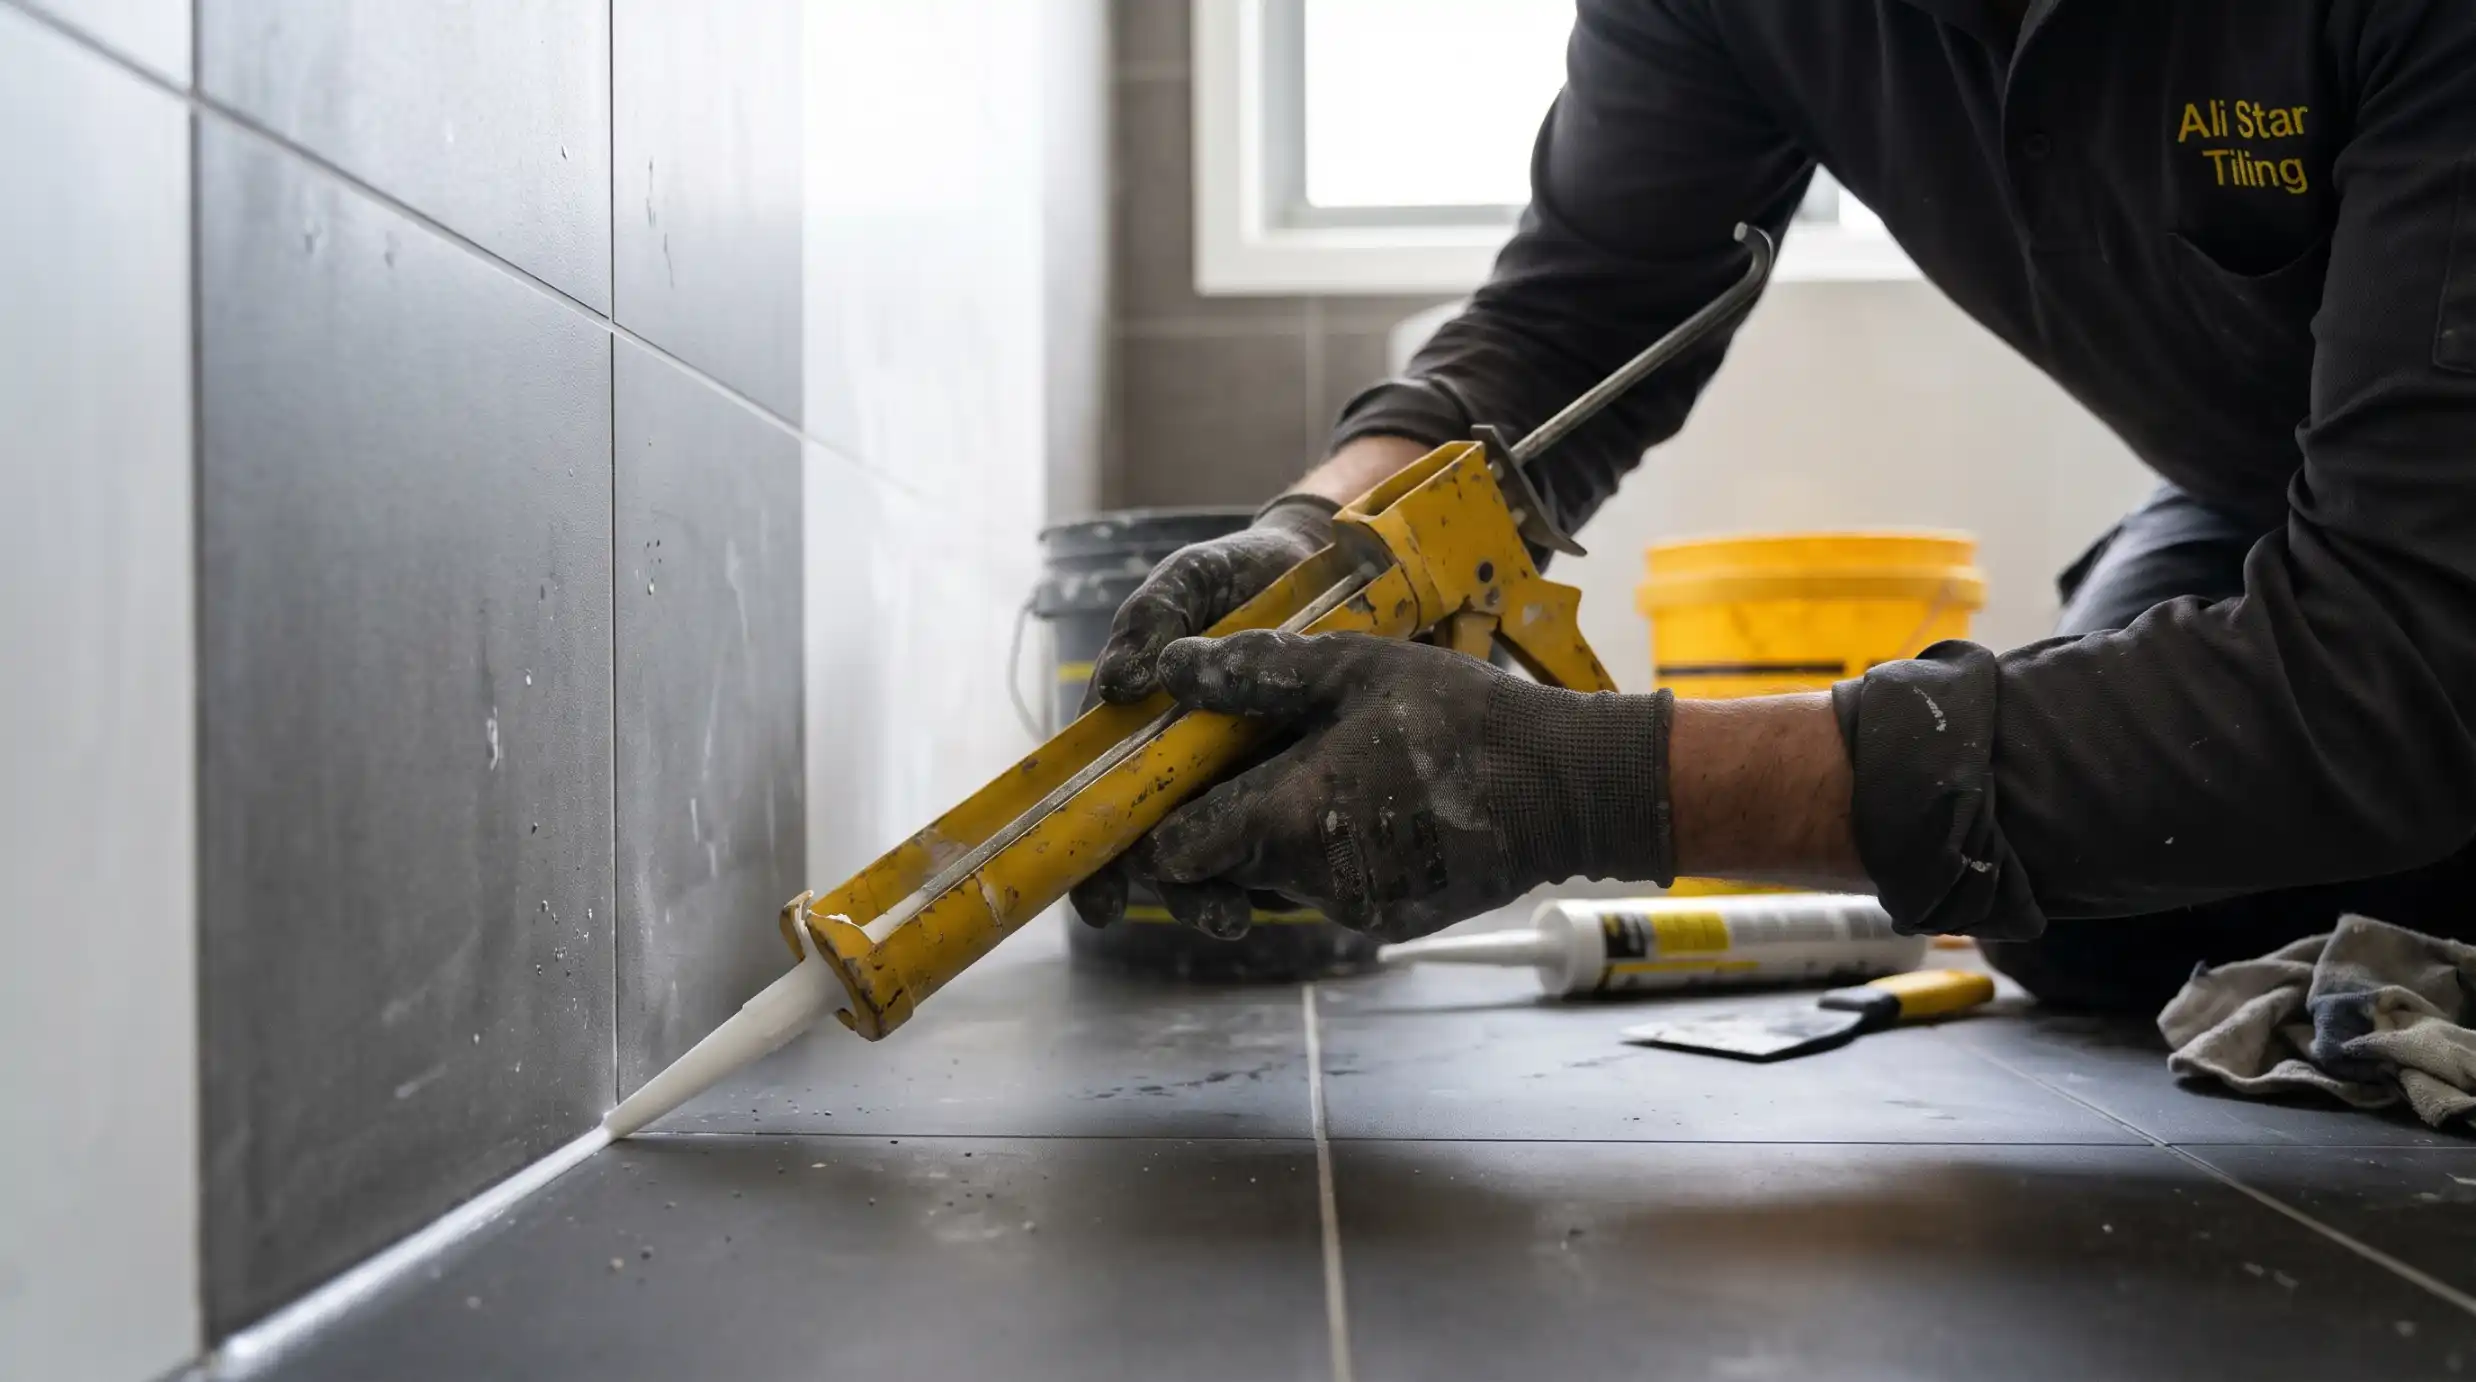
So what can you do to prevent bathroom silicone peeling?
- Make and apply treatments all at once. Make sure that the directions on the product are read and that the area can be closely closed prior to starting.
- When removing old silicone, get rid of the old silicone, even the thin traces.
- Clean using a clean, approved wipe to remove soap, oils, and dust from the surface.
- Reapply new sealant after the joint.
- Properly identify sealant for tile and adjacent materials.
- Proceed with sealant correctly, in an efficient and timely fashion.
- Do not get the joint wet while it is being cured according to the manufacturer's instructions.
- Before re-sealing, be sure to look for activity, broken or loose grout.
- If it still fails, do NOT add more layers. The bathroom sealing professional and/or tiler may have access to a bathroom that is deep enough to examine the crack and decide if the problem is being caused by silicone or there is a larger problem.
When to get a professional in Melbourne?
When it comes to repairs, the little fix in a very clean environment with solid surfaces that is intended with crystal-clear intention, DIY is a good, suitable fix. If it is failing often, the tiles are loose, water is oozing out from the shower head, water is dripping, or if you notice mould and water is dripping for some time, then call a professional. It's best to call a local tiler who can inspect the joint and advise on the material and thickness needed in the instance. Your bathroom issue is unique, and you'll need a unique approach that's suited to the materials and condition in your bathroom; a resealing solution won't accomplish the objectives outlined above and could cause movement, problems with waterproofing, and leakage.
Final takeaway
If silicone continues to separate from the tile, this will probably not improve the situation, unless some of the silicone has become dislodged. More silicone will probably not prevent this if it continues to strip away from the tiles. It's all of this that matters: complete removal, a clean and dry surface, appropriate bathroom sealant, application, and proper curing time. The initial phase of resolving the issue might be to relocate or eliminate moisture.
FAQs